 区块链技术网
利用Truffle开发一个DAPP投票应用
文章标签
Solidity合约
实现一个投票DAPP的基本需求是:
- 每人(钱包/账号)只能投票一次
- 记录一共有多少个候选人
- 记录每个候选人的的得票数
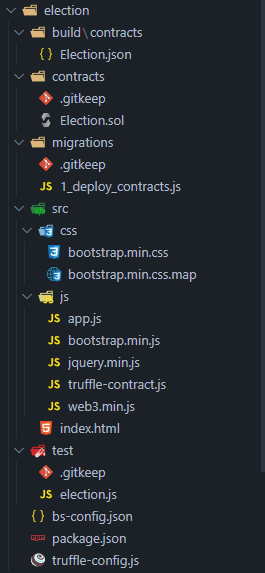
完整的项目结构
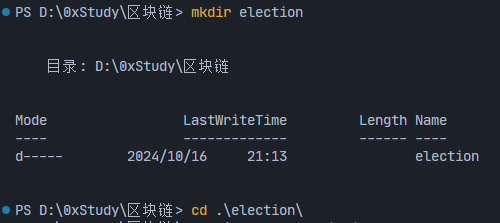
1. 创建项目
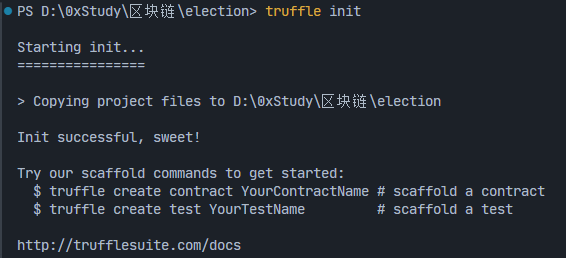
创建一个目录,进入目录并使用 truffle inti 初始化项目,生成项目结构及配置文件

- contracts:存放智能合约的文件夹
- migrations:用来指示如何部署(迁移)智能合约的文件夹,编写部署合约 JavaScript 文件
- test:智能合约测试用例的文件夹
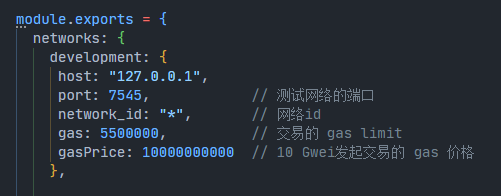
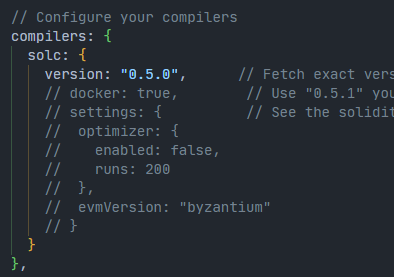
- truffle-config.js:配置文件,包括truffle连接的网络(本地测试或公网)以及编译选项(版本)
- src:web资源文件夹(可自己创建)
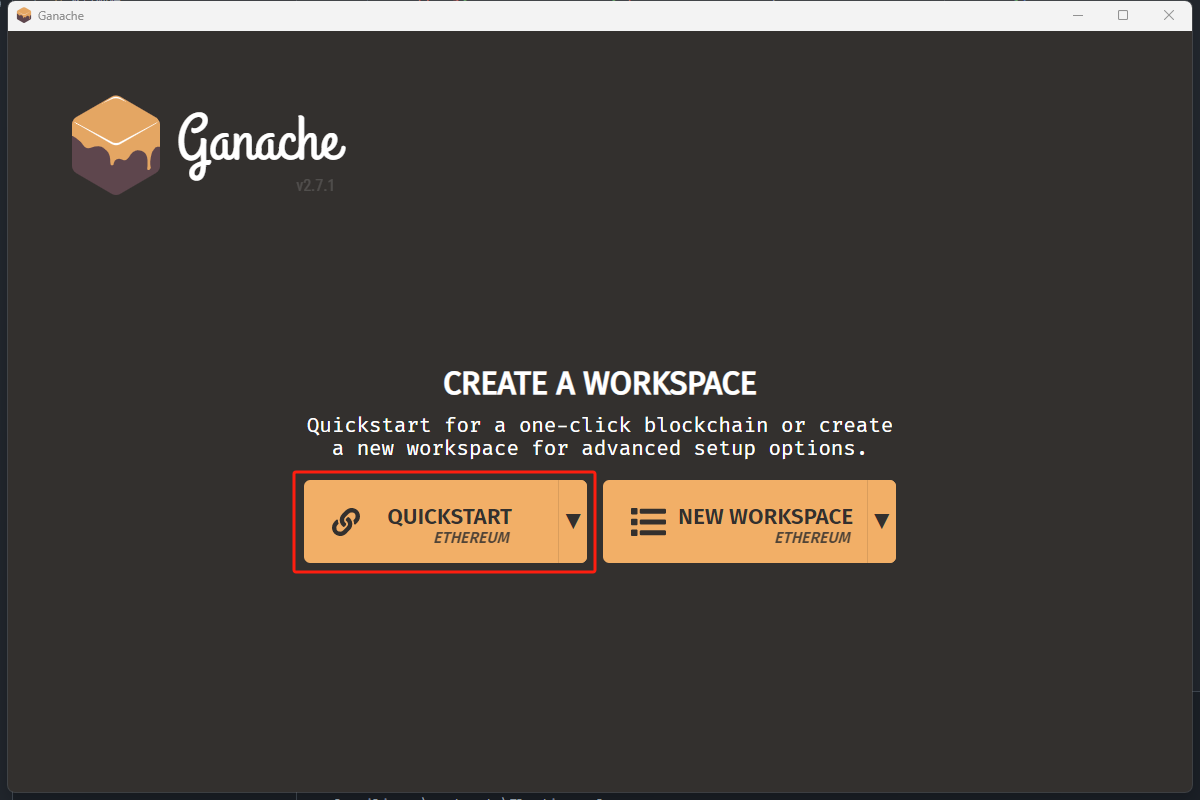
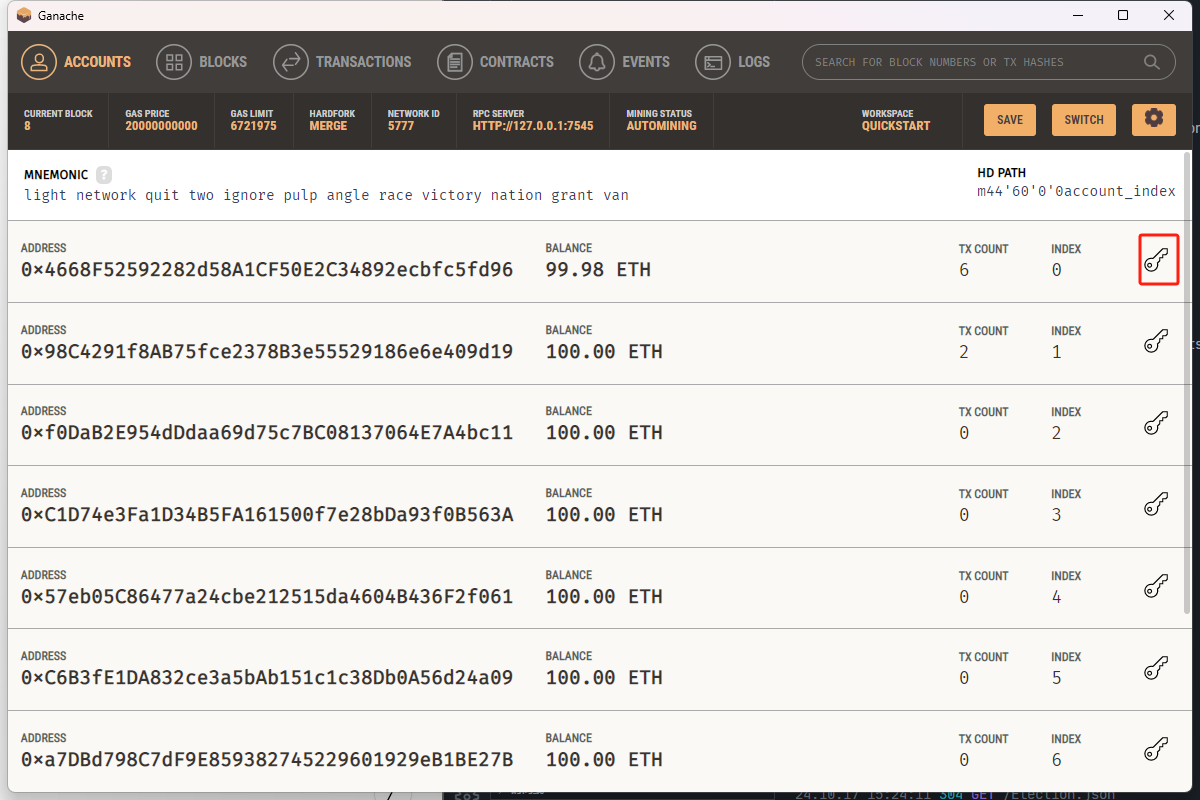
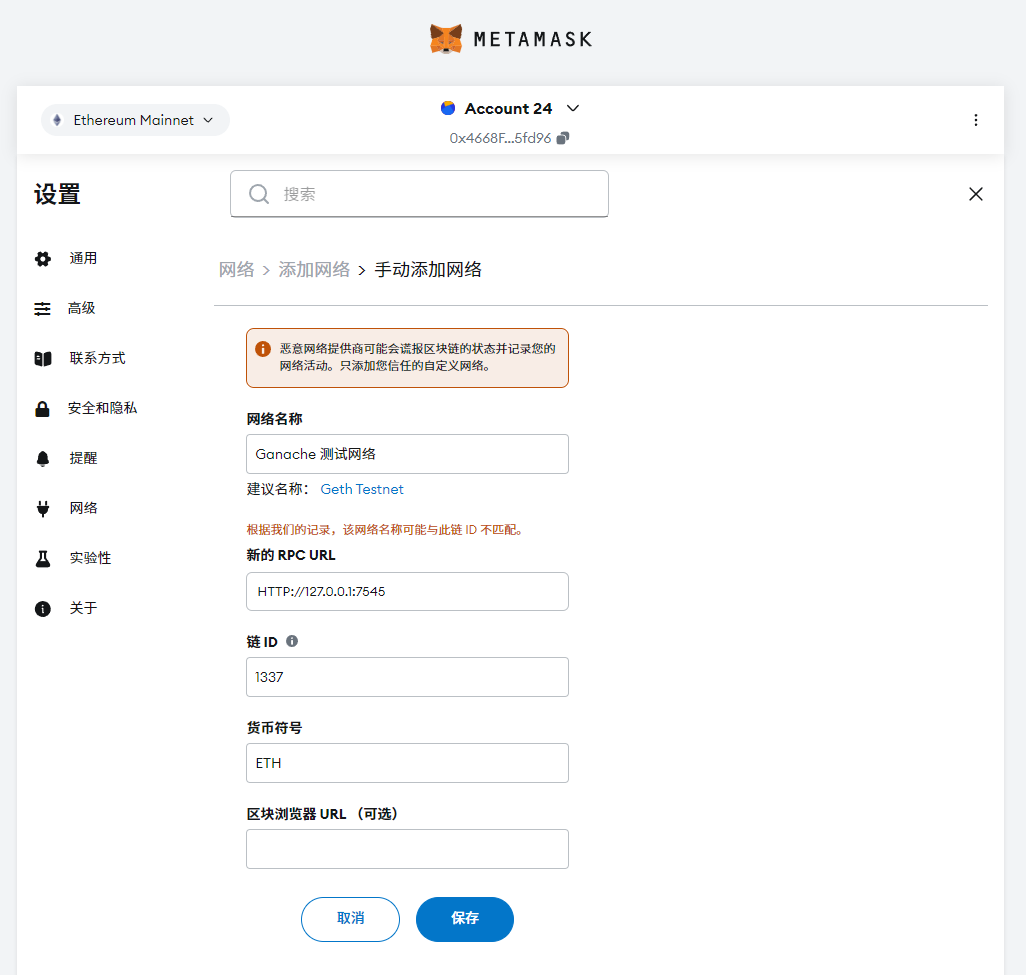
启动 Ganache
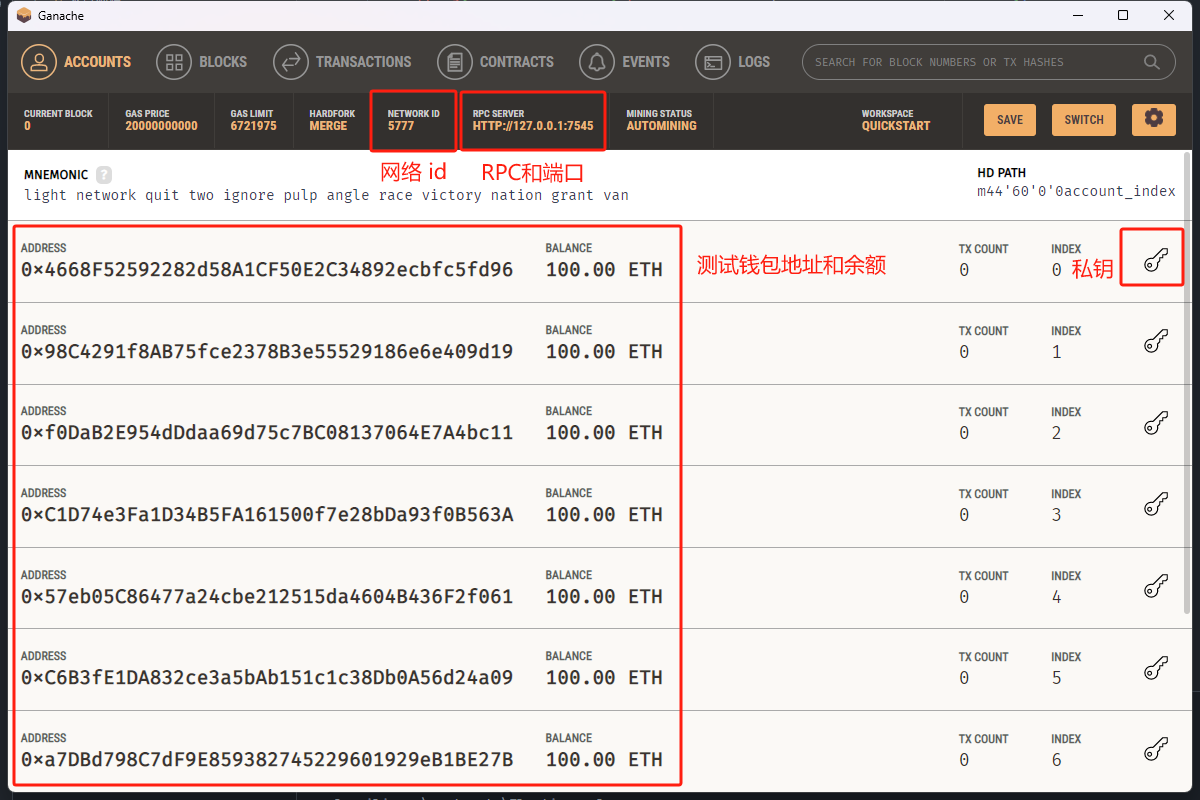
在配置文件 truffle-config.js 文件中 修改对应RPC,端口以及solidity的版本


2.编写智能合约
在项目的contract目录下新建一个合约 Election.sol
// SPDX-License-Identifier: SEE LICENSE IN LICENSE
pragma solidity ^0.5.0;
contract Election {
// 记录候选人及得票数
struct Candidate {
uint id;
string name; // 候选人名字
uint voteCount; //得票数
}
// 定义一个mapping记录投票纪录:每人(账号)只能投票一次
mapping(address => bool) public voters;
// 通过 id 作为 key 访问映射candidates来获取候选人名单
mapping(uint => Candidate) public candidates;
// 共有多少个候选人
uint public candidatesCount;
// 投票事件
event votedEvent(uint indexed _candidateId);
// 构造函数,部署合约时,初始化添加2个候选人
constructor() public {
addCandidate("Tiny 熊");
addCandidate("Big 牛");
}
// 添加候选人方法,把名字添加到candidates映射中,同时候选人数量加1
function addCandidate(string memory _name) private {
candidatesCount++;
candidates[candidatesCount] = Candidate(candidatesCount, _name, 0);
}
// 投票方法,在对应候选人的voteCount加1
function vote(uint _candidateId) public {
// 检查是否已经投票
require(!voters[msg.sender]);
// 检查投票id是否在候选人名单中
require(_candidateId > 0 && _candidateId <= candidatesCount);
// 记录谁投票了
voters[msg.sender] = true;
// 候选人票数加1
candidates[_candidateId].voteCount++;
// 触发投票事件
emit votedEvent(_candidateId);
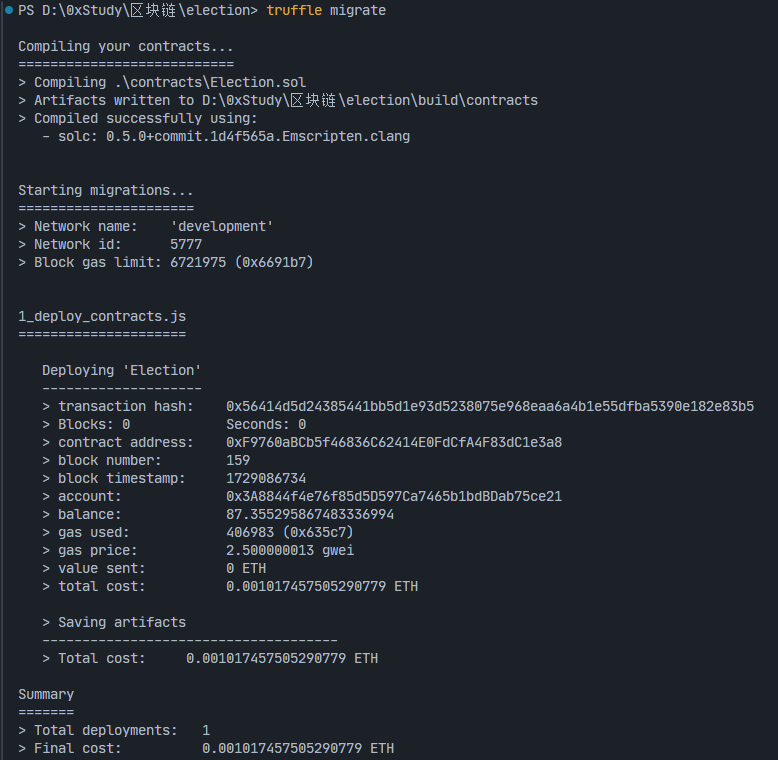
}3.合约编译及部署
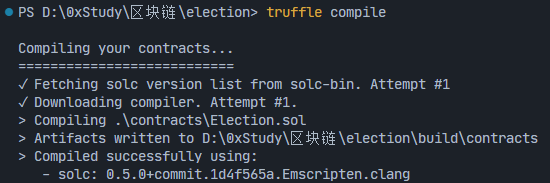
在项目目录下,使用 truffle compile 进行编译合约
在项目的 migrations 的目录下,创建一个用来部署 Election 合约的脚本 1_deploy_contracts.js
const Election = artifacts.require("Election")

module.exports = function(deployer){
    deployer.deploy(Election);
}
最后用 truffle migrate 进行迁移(部署)
4. 合约测试
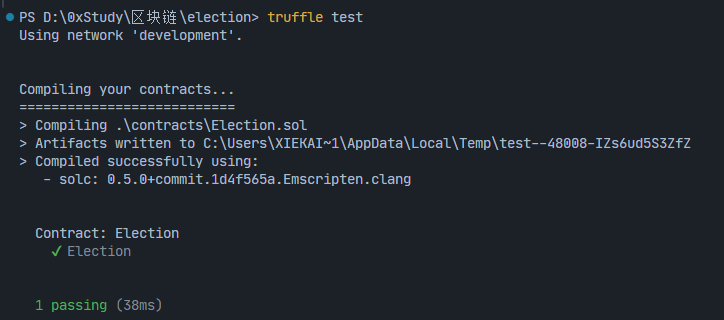
在项目 test 目录中,用 JavaScript 编写一个测试合约的脚本,新建一个 election.js 的文件
const Election = artifacts.require("Election");

contract("Election",function (accounts){
    let instance;

    // it 定义一个测试用例
    it("Election",async function(){
        instance = await Election.deployed();
        // 获取候选人数量
        count =  await instance.candidatesCount();
                // 断言测试用例,满足 ,异常 ×
        assert.equal(count, 2, "候选人数目应为2");
    })
});
使用命令 truffle test 运行测试用例
5. 编写前端
新建一个 src 目录用来存放前端资源代码,新建一个html文件
<table class="table">
        <thead>
            <tr>
                <th scope="col">#</th>
                <th scope="col">候选人</th>
                <th scope="col">得票数</th>
            </tr>
        </thead>
        <tbody id="candidatesResults"></tbody>
  </table>
  <form onSubmit="App.castVote(); return false;">
      <div class="form-group">
          <label for="candidatesSelect">选择候选人</label>
          <select class="form-control" id="candidatesSelect"></select>
      </div>
      <button type="submit" class="btn btn-primary">投票</button>
      <hr/>
  </form>
新建一个文件 app.js 用来完成交互功能,分别涉及三个功能:
- 初始化 web3 及合约
- 获取候选人填充到前端页面
- 用户提交投票
- 在 App 类中使用initWeb3 完成web3的初始化
initWeb3: async function() {

        // 检查浏览器 ethereum对象
        if (window.ethereum) {
          App.web3Provider = window.ethereum;
          try {
            // 请求账号访问权限
            await window.ethereum.enable();
          } catch (error) {
            // 用户拒绝访问
            console.error("User denied account access")
          }
        }
        // 用于兼容老的浏览器钱包插件
        else if (window.web3) {
          App.web3Provider = window.web3.currentProvider;
        }
        // 如果没有检测到注入的 web3 实例,则回退到 Ganache 网络
        else {
          App.web3Provider = new Web3.providers.HttpProvider('http://localhost:7545 ');
        }

        web3 = new Web3(App.web3Provider);
      return App.initContract();
    },
      // 用来进行合约初始化
    initContract: function() {
      $.getJSON("Election.json", function(election) {
        // Instantiate a new truffle contract from the artifact
        App.contracts.Election = TruffleContract(election);
        // Connect provider to interact with contract
        App.contracts.Election.setProvider(App.web3Provider);

        App.listenForEvents();

        return App.render();
      });
}- 创建完合约对象就可以调用合约函数,render() 函数用来获取候选人进行界面渲染
render: function() {
    var electionInstance;
    var loader = $("#loader");
    var content = $("#content");

    loader.show();
    content.hide();

    // Load account data
    web3.eth.getCoinbase(function(err, account) {
      if (err === null) {
        App.account = account;
        $("#accountAddress").html("Your Account: " + account);
      }
    });

    // Load contract data
    App.contracts.Election.deployed().then(function(instance) {
      electionInstance = instance;
      // 获取候选人数量
      return electionInstance.candidatesCount();
    }).then(function(candidatesCount) {
      var candidatesResults = $("#candidatesResults");
      candidatesResults.empty();

      var candidatesSelect = $('#candidatesSelect');
      candidatesSelect.empty();

      for (var i = 1; i <= candidatesCount; i++) {
        electionInstance.candidates(i).then(function(candidate) {
        // 渲染候选人 candidate 结构体
          var id = candidate[0];
          var name = candidate[1];
          var voteCount = candidate[2];

          // 将候选人信息存入候选人表格中
          var candidateTemplate = "<tr><th>" + id + "</th><td>" + name + "</td><td>" + voteCount + "</td></tr>"
          candidatesResults.append(candidateTemplate);

          // 将候选人信息存入投票选项
          var candidateOption = "<option value='" + id + "' >" + name + "</ option>"
          candidatesSelect.append(candidateOption);
        });
      }
      return electionInstance.voters(App.account);
    }).then(function(hasVoted) {
      // Do not allow a user to vote
      if(hasVoted) {
        $('form').hide();
      }
      loader.hide();
      content.show();
    }).catch(function(error) {
      console.warn(error);
    });
  }
6. 运行DAPP
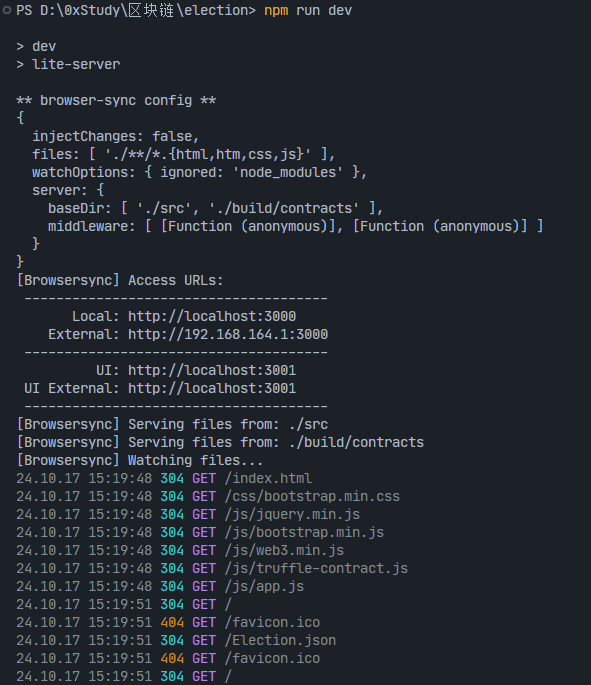
此案例是一个web应用,需要安装一个web服务器,这里我们选择最简单的 lite-server
- 使用 npm 安装 lite-server:
npm install --save-dev lite-server- 添加一个服务器配置文件:bs-config.json,用来配置 lite-server 的加载目录
{
  "server": {
         // ./src是网页文件目录 ./build/contracts是Truffle编译部署合约输出的目录
    "baseDir": ["./src", "./build/contracts"]
  }
}
- 新建 package.json 文件,在 scripts 中添加 dev 命令,用来启动 lite-server
{
  "scripts": {
    "dev": "lite-server",
    "test": "echo \"Error: no test specified\" && exit 1"
  }
}- 最后在命令行使用命令
npm run dev启动 DAPP
7. 运行结果
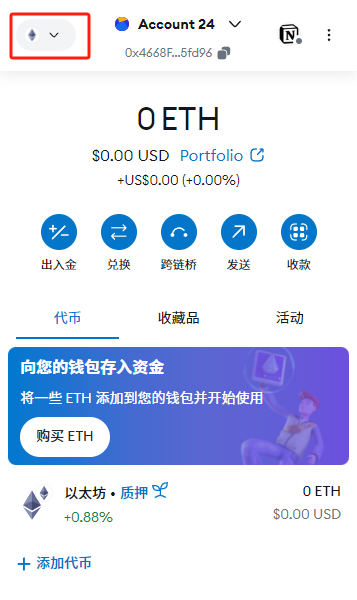
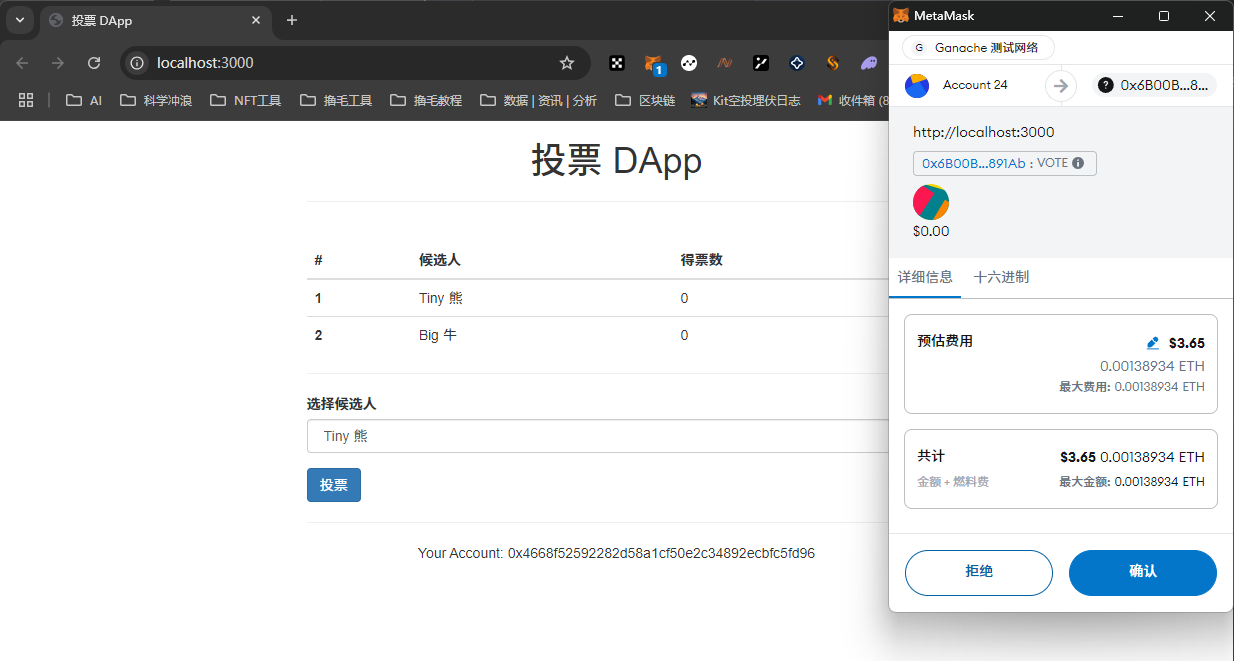
- 首先需要安装钱包插件 Metamask 小狐狸钱包:https://chromewebstore.google.com/detail/metamask/nkbihfbeogaeaoehlefnkodbefgpgknn
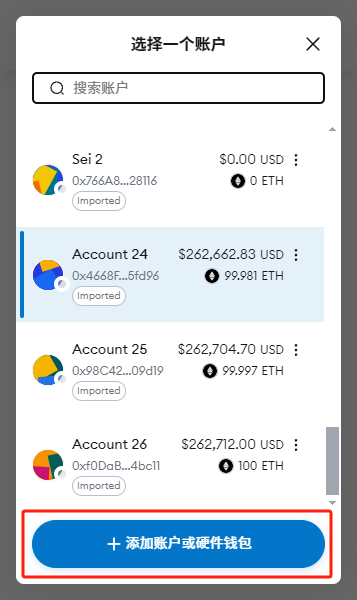
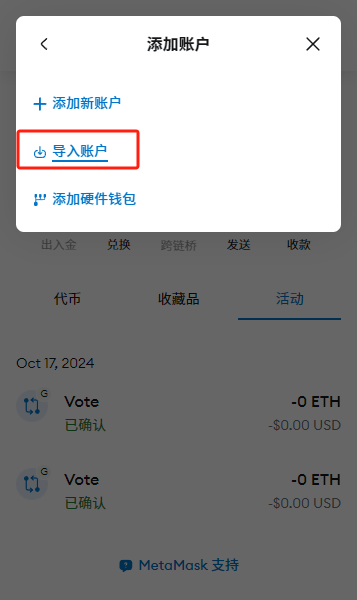
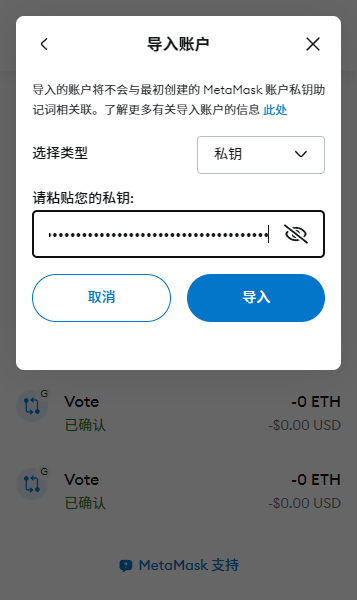
在小狐狸钱包中导入 Ganache 的钱包私钥
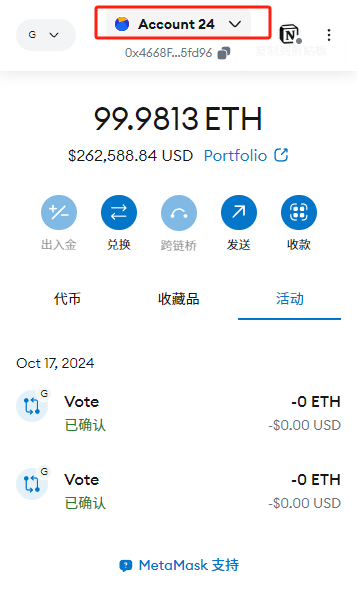
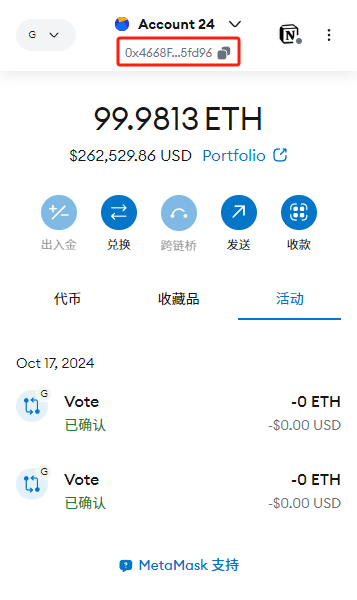

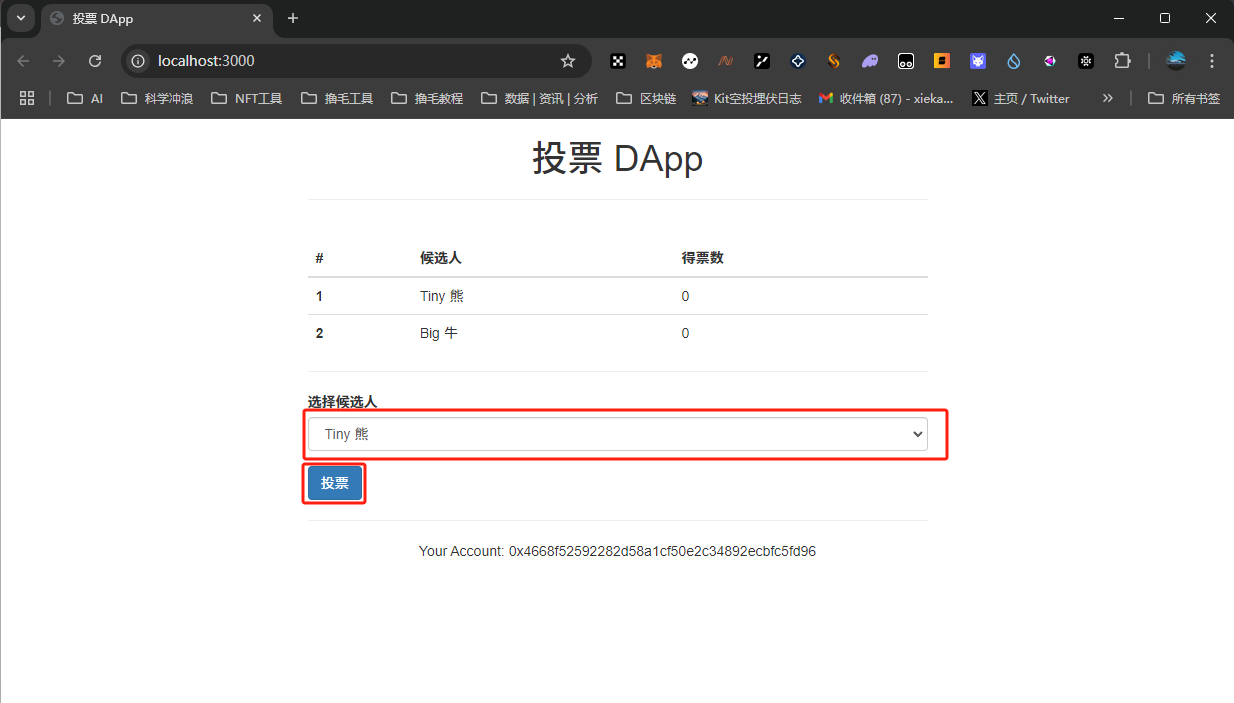
在浏览器中输入http://localhost:3000访问投票DAPP
- 选择候选人进行投票
- 点击投票后回弹出 web3 钱包,确认交易即是对合约调用 vote() 函数进行投票
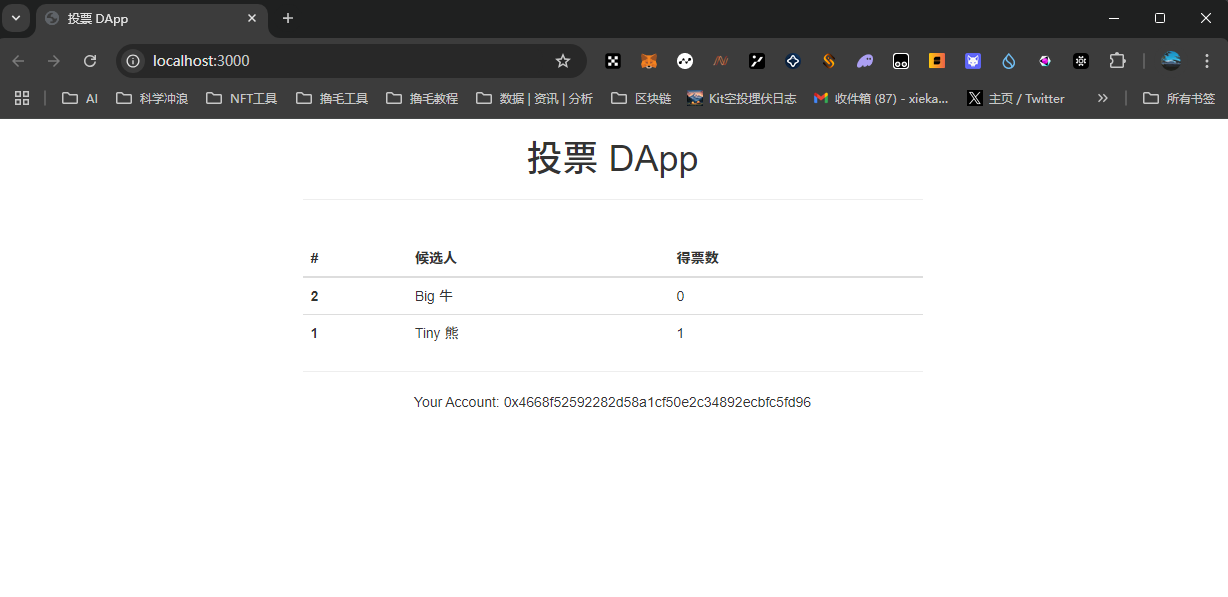
- 投票成功后,所选的候选人得票数加一
版权声明
本文仅代表作者观点,不代表区块链技术网立场。
本文系作者授权本站发表,未经许可,不得转载。
相关文章


作者文章
- 编码代理如何重塑工程、产品和设计 3个月前 (03-20)
- 一张图看懂Web3稳定币格局 3个月前 (03-20)
- nonReentrant 挡不住的重入:两种你可能忽略的场景 3个月前 (03-20)
- 零知识API使用信用:大型语言模型及其他应用 3个月前 (03-20)
- Snap v2:以 BALs 取代 Trie 愈合 — 执行层研究 3个月前 (03-20)
发表评论:
◎欢迎参与讨论,请在这里发表您的看法、交流您的观点。